How to Clean a Bear Skull and Make a European Mount In 5 Easy Steps
Making a European mount is very simple with the proper instruction. This article and video will give you the proper teaching to clean, bleach and present your European mount. This process is on The Black Bear Hunting Encyclopedia Book DVD.
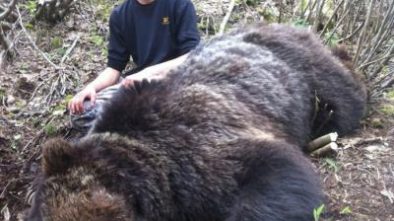
Once you have your Polar Bear, Grizzly or black bear trophy on the ground what are you going to do with the skull?
Materials Needed
- Sharp knife
- Gloves
- Safety glasses
- Coat hangar to make a wire hook
-
Outdoor grill / hot plate
- Water
- Large pot
- Garbage bags
- Dishwashing soap
- Large pale
- 3-4L of 40 volume peroxide (beauty supply store/ pharmacy)
- fast drying strong glue
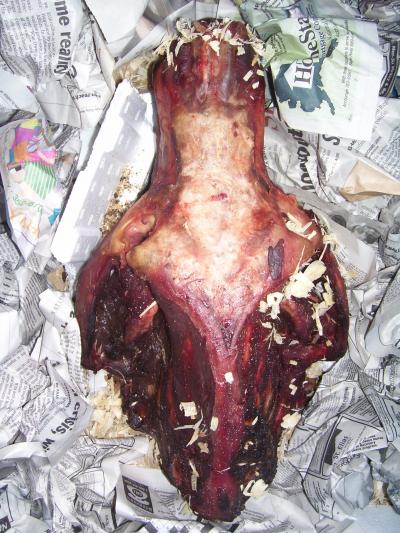
 1- Skin out the Bear Skull
Materials for this step:
Sharp knife
Gloves
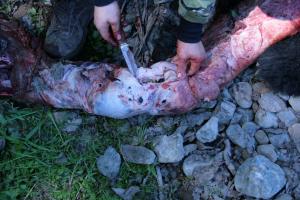
Carefully pull the hide away from the skull and cut the connecting tissue/sinew with the large surface of the knife. Always keep pulling the hide and be especially careful if keeping the hide for a rug or life size mount. Cut the ear cartilage as close to the base of the skull as possible. Cut the around the eyelids carefully if keeping the hide.
Cut behind the nose cartilage. Follow the cutting underneath the jaw keeping the lips on the hide. Cut the last connecting tissue away from the skull.
 2- Boil the Bear Skull and Remove all Tissue
(or use insects to clean your skull, you well then have to boil it a little bit after for final cleanup anyways)
Materials for this step:
- Large Pot
- Outdoor Grill
- Sharp Knife
- Wire Hook
- Water
- Garbage Bags
Fill up a large pot with enough water to completely submerge the bear skull. Bring water to a boil and submerge the bear skull (be very careful not to burn yourself.) Allow bear skull to boil for 30 minutes. If you boil to long teeth will come lose and jaw will break in half. After 30 mins of boiling allow bear skull and water to cool down. Remove the skull and begin to remove flesh and tissue into the garbage until skull is cleaned of all tissue and cartilage. Use the wire hook to remove the brain matter in the skull through the back of the skull. (keep any teeth or pieces to assemble later)
3- Degrease the Bear Skull
Materials for this step
- Large Pale
- Water
- Dishwashing soap
Fill the large pale with water so the bear skull will be completely submerged in water. Add a large amount of dishwashing soap and mix thoroughly so the water is saturated with soap. Completely submerge the bear skull and hold it under water until all the air has escaped. Every 2nd day change the water and soap mixture to ensure you are removing all the grease. After one week of repeating this step rinse the bear skull off. If you skip this step you will end up with a poor finished product as the bear’s natural oils will seep onto the surface of the skull and discolor it with yellow spots.
4- Whiten the Bear Skull with Peroxide
Materials needed for this step
- Enough 40 volume peroxide to submerge the bear skull
- A large pale
- Minimal water
- Gloves
- Safety glasses
Take the degreased skull and place it in the large pale. Begin to poor enough peroxide to submerge the skull. Make sure you are wearing gloves and safety glasses when handling this peroxide. It will turn your hands bone white! If by some chance you do not have enough peroxide to completely cover the skull you made add a tiny bit of water but do not exceed 10% of the total volume as you will have substandard results. Let the bear skull sit in the 40 volume peroxide for 12-24 hours. If bear skull still is not completely bone white let sit until you are happy with the results then remove it from the peroxide. Remember to always wear gloves while you handle the peroxide or the skull when it is in peroxide.
5- Glue Teeth and Jaw back together
Materials needed for this step
- Table
- Fast drying strong glue
If any teeth came out during the process, or if the jaw separated you can now glue
it back together. If the jaw is in 2 pieces you will need to position the pieces in a way so that the jaw will not separate while the glue is drying. Apply the glue to both sides and hold in place until dry. Proceed to glue and place the teeth back in where they fell out of. Make sure skull is dry when performing these actions for best results.
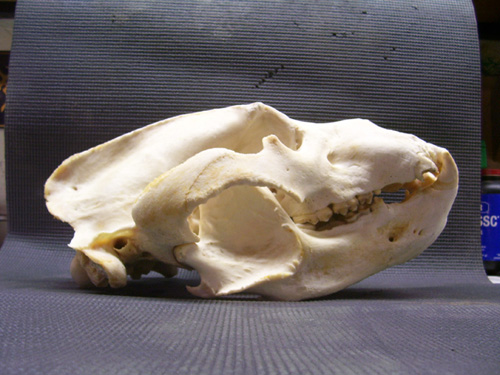
When everything is glued back in place you are ready to place it on the mantle.
This process is explained on video in further detail and can be watched on the DVD in The Black Bear Hunting Encyclopedia.